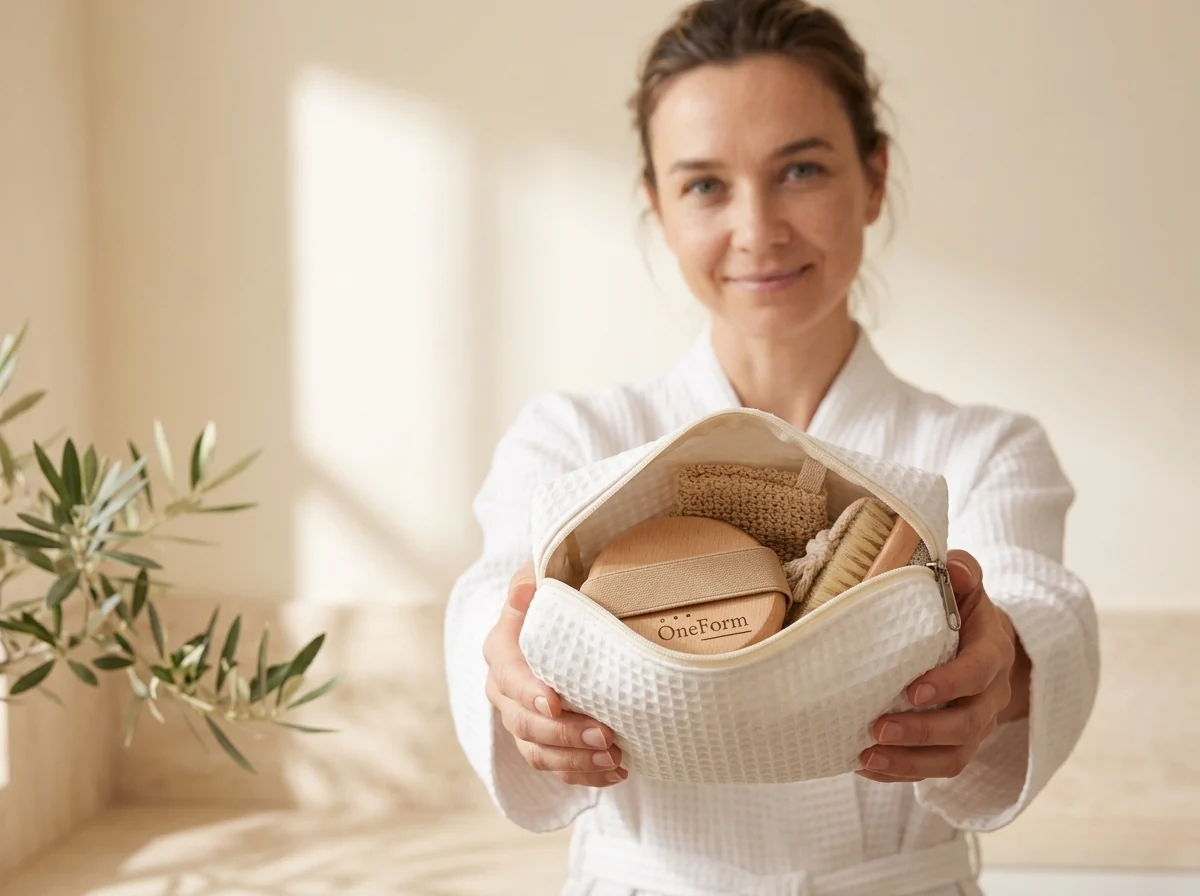
New to dry brushing? Start here.
A few minutes, a few times a week. Here's everything you need to begin.
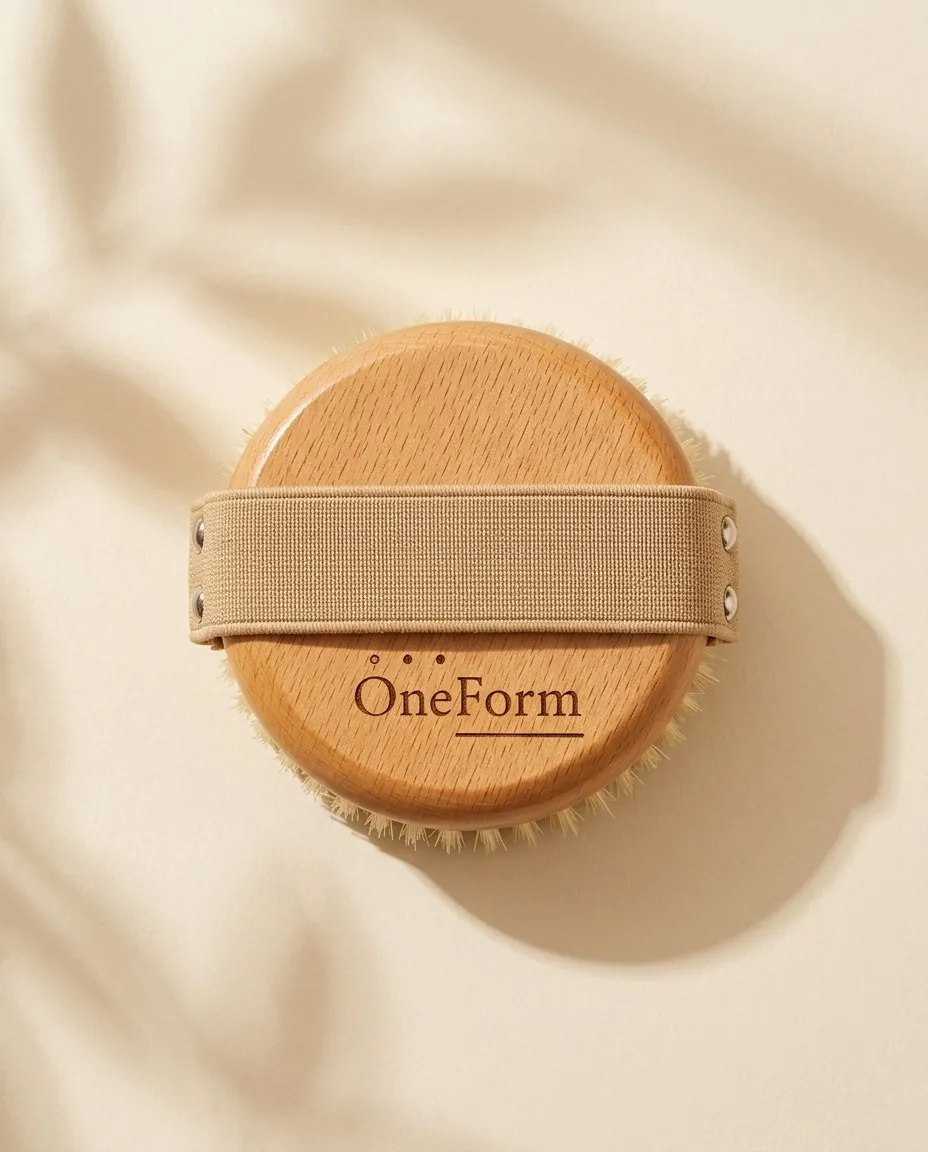
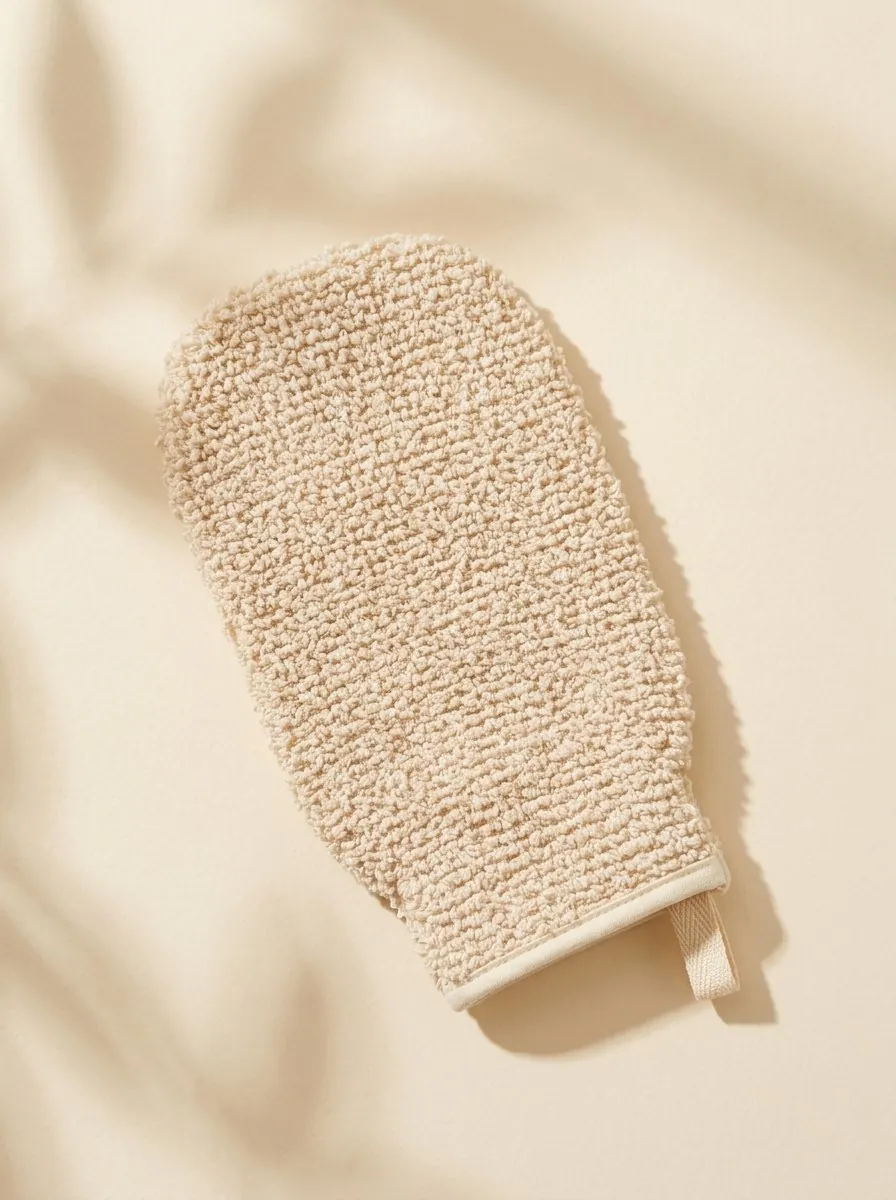
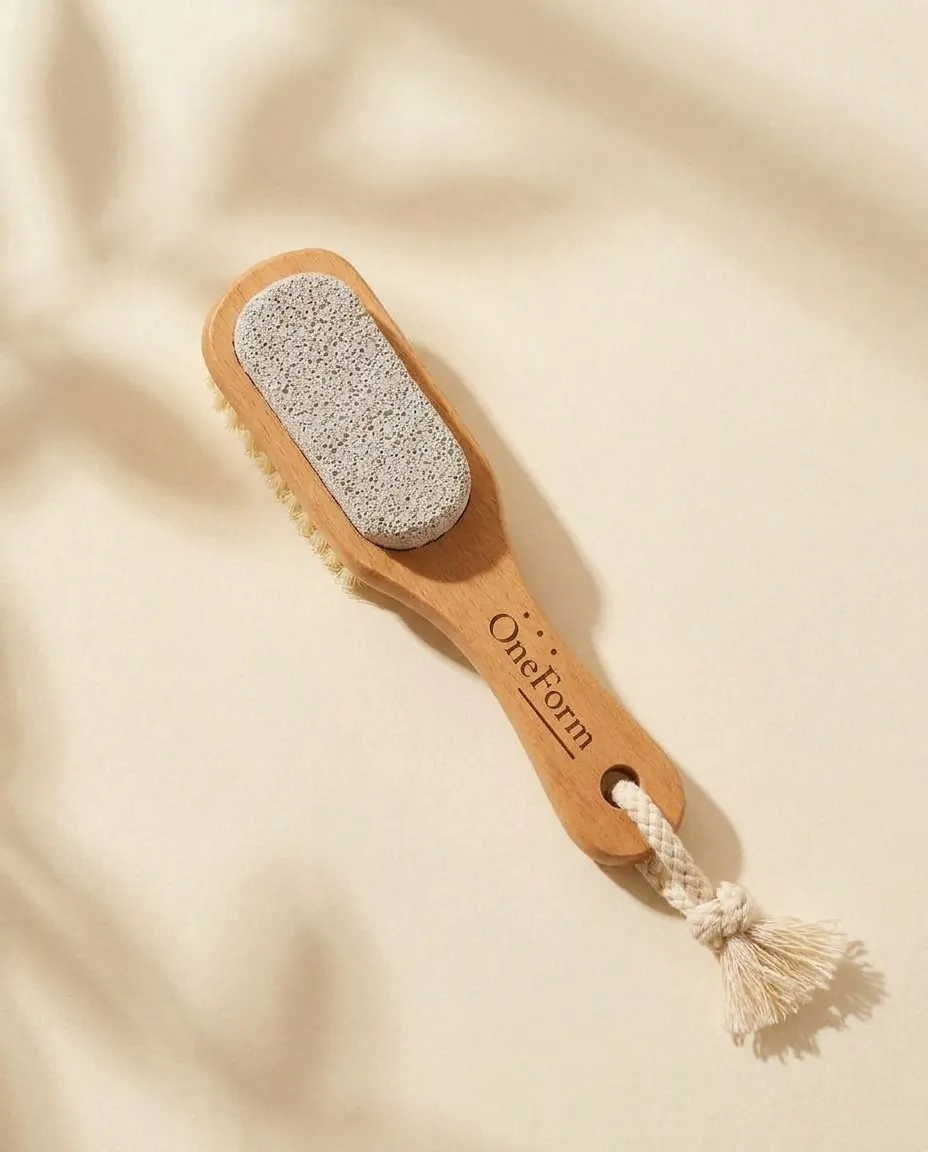
- Three tools, one for each step. Nothing to work out.
- Follow the order: before, inside and after the shower.
- Start with two or three times a week. Once your skin is used to it, build to three or four.
- Light pressure is all you need. Missed a few days? Pick it up again next time you shower.
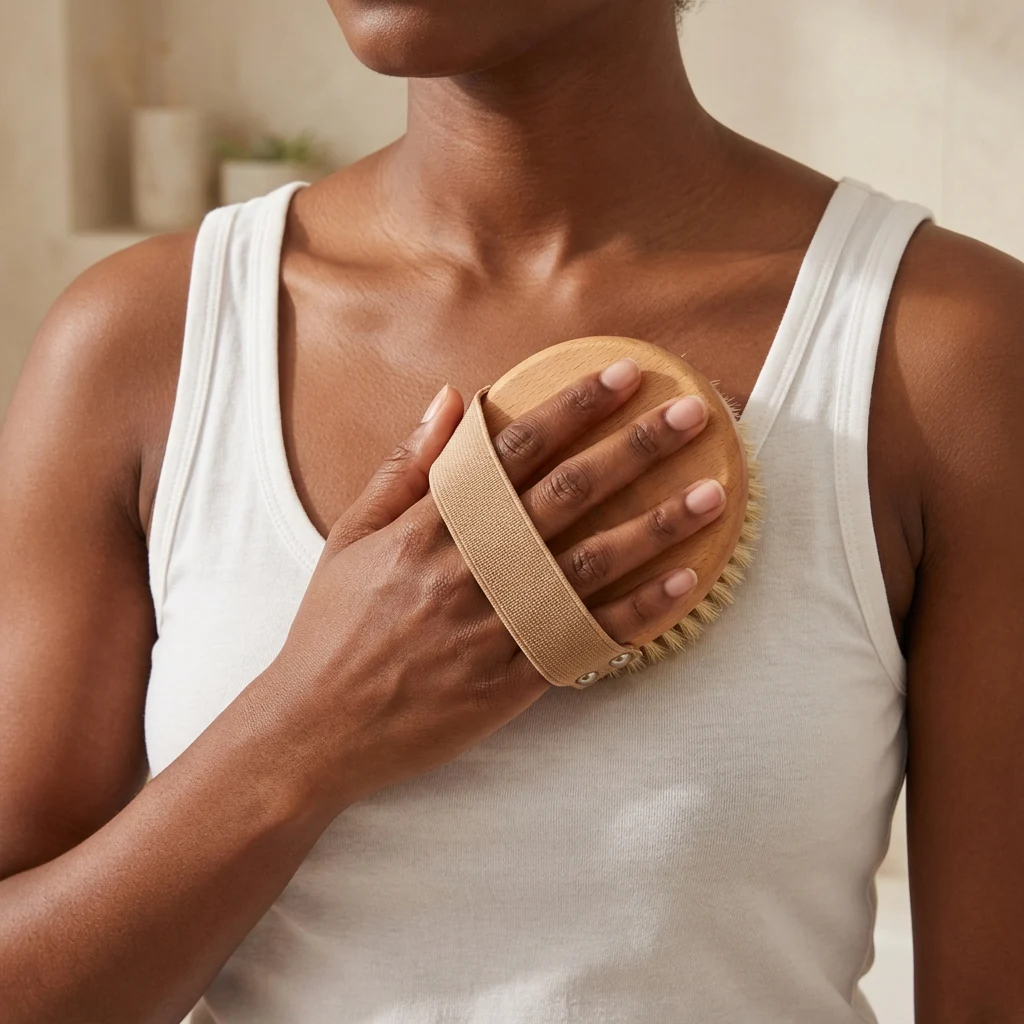
One routine. Three simple steps.

After the shower.
Pat dry, then finish with your usual oil or moisturiser to lock in the softness.
- Apply within a few minutes, while your skin is still slightly damp.
- Any oil or moisturiser you already like works. For sensitive skin, choose one without fragrance.
- Skip strong active ingredients, like retinol or exfoliating acids, straight after brushing.
Oils and moisturisers not included.
Your first few weeks.
Build it up slowly. Consistency matters more than pressure.
Week 1
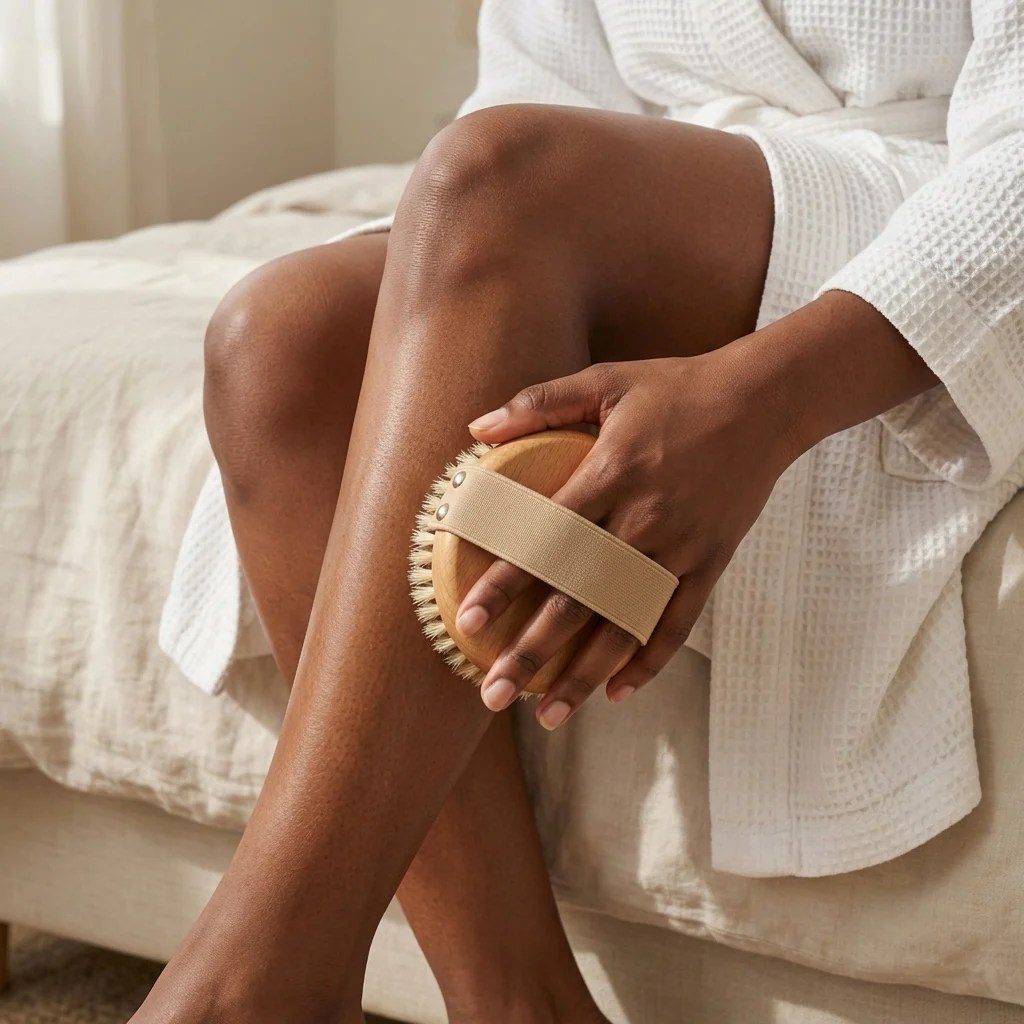
Twice a week, with light pressure. Start with your legs and arms.
Week 2
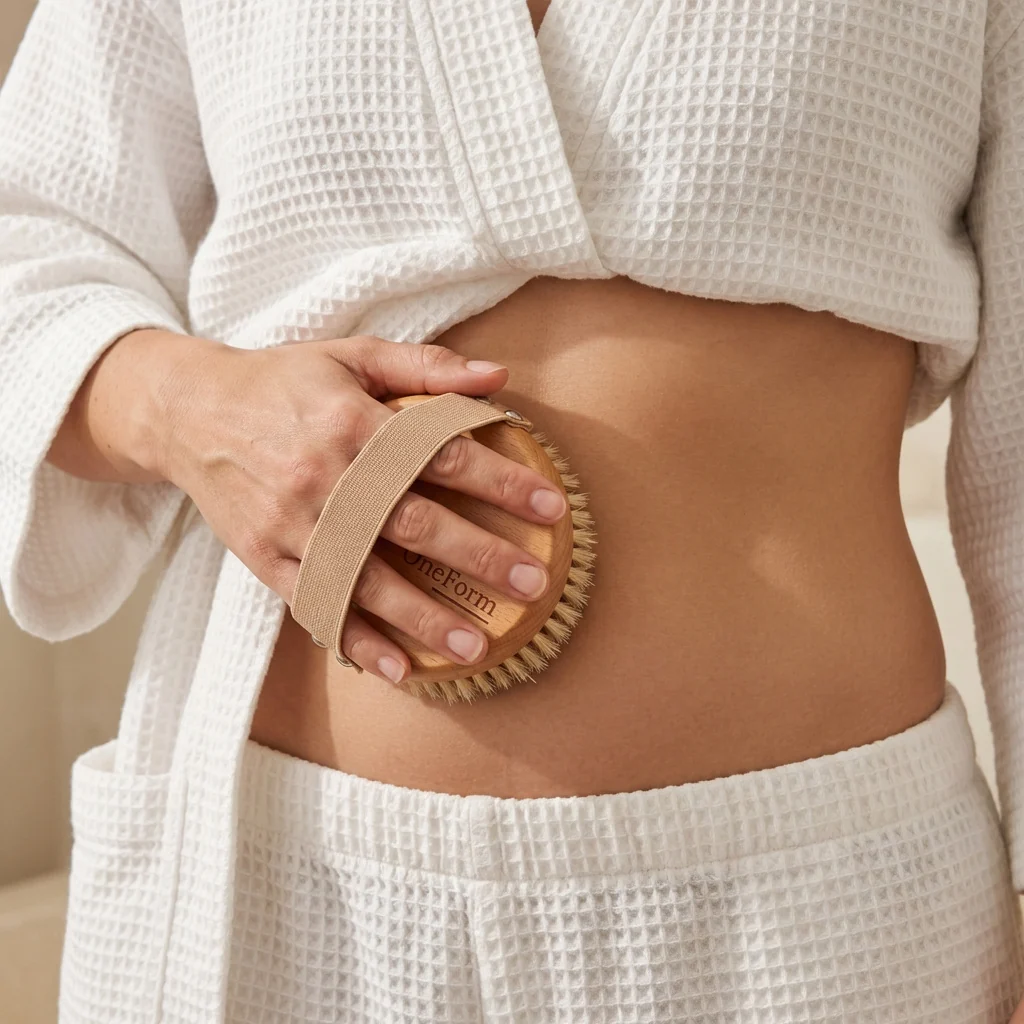
Two or three times a week. Add your stomach, still keeping pressure light.
Week 3 onwards
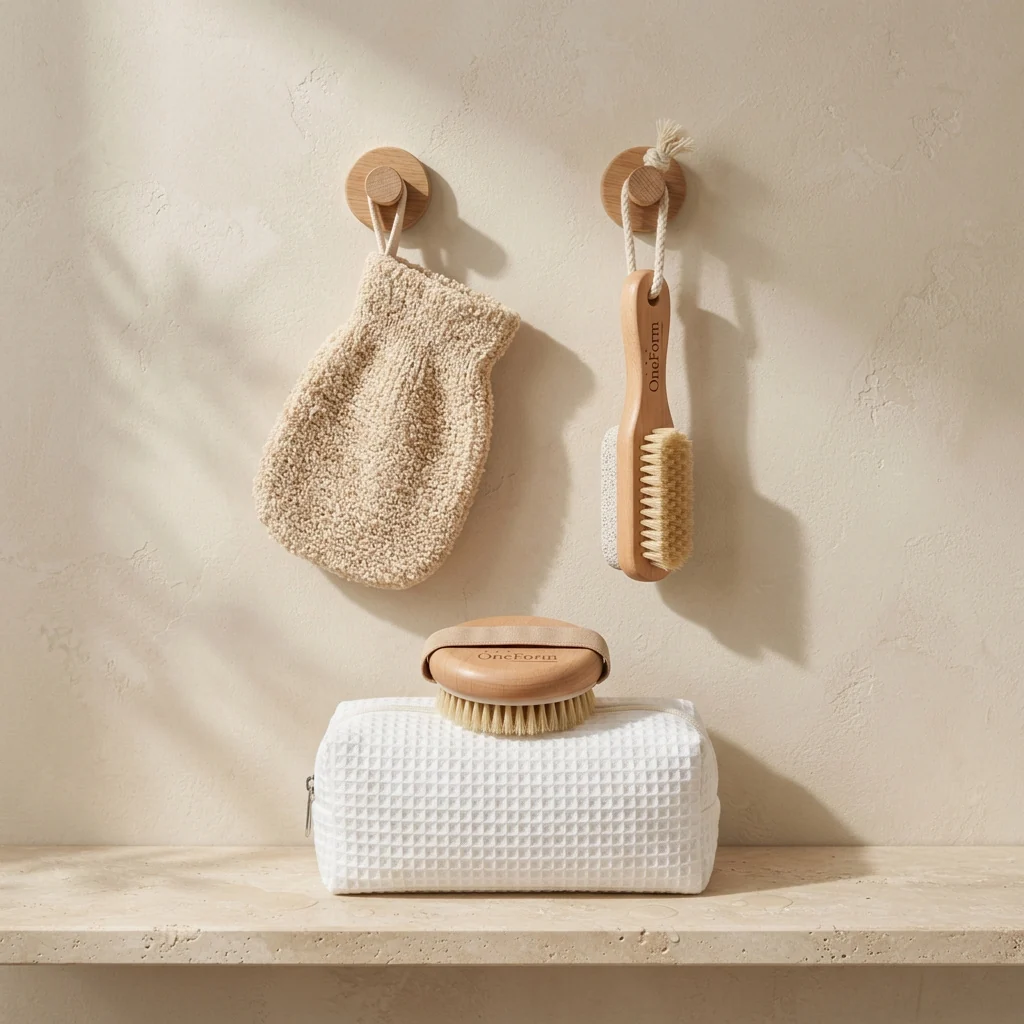
Three or four times a week, if you feel comfortable. This is your routine now, reap the benefits.
Your skin should feel smoother after the first sessions. Keep up a consistent routine to see more results.
Safety
- For external use only. Not for your face.
- Do not use on broken, irritated or inflamed skin, sunburn, a rash or a flare-up of a skin condition.
- Brush around moles, warts and raised bumps, not over them.
- Stop using if irritation occurs.
- Keep out of reach of children.
- Keep the plastic packaging bag away from babies and children to avoid any danger of suffocation. It is not a toy.
If in doubt, check with a healthcare professional.
Care and storage
- Tap out dead skin cells after each use and wash bristles monthly with warm water.
- Avoid submerging wooden parts to prevent cracking and mould growth.
- Allow brushes and mitt to dry between uses in a well-ventilated area.
- Replace the brushes every six months for optimal results.
Discontinue use if any item becomes damaged.